Thursday 20 November 2014

Christmas Project pt2

Another evening on finishing the main bulk of the claywork. So I managed to bulk out the face more and adding the many fold lines that are across the face around the cheeks and forehead.
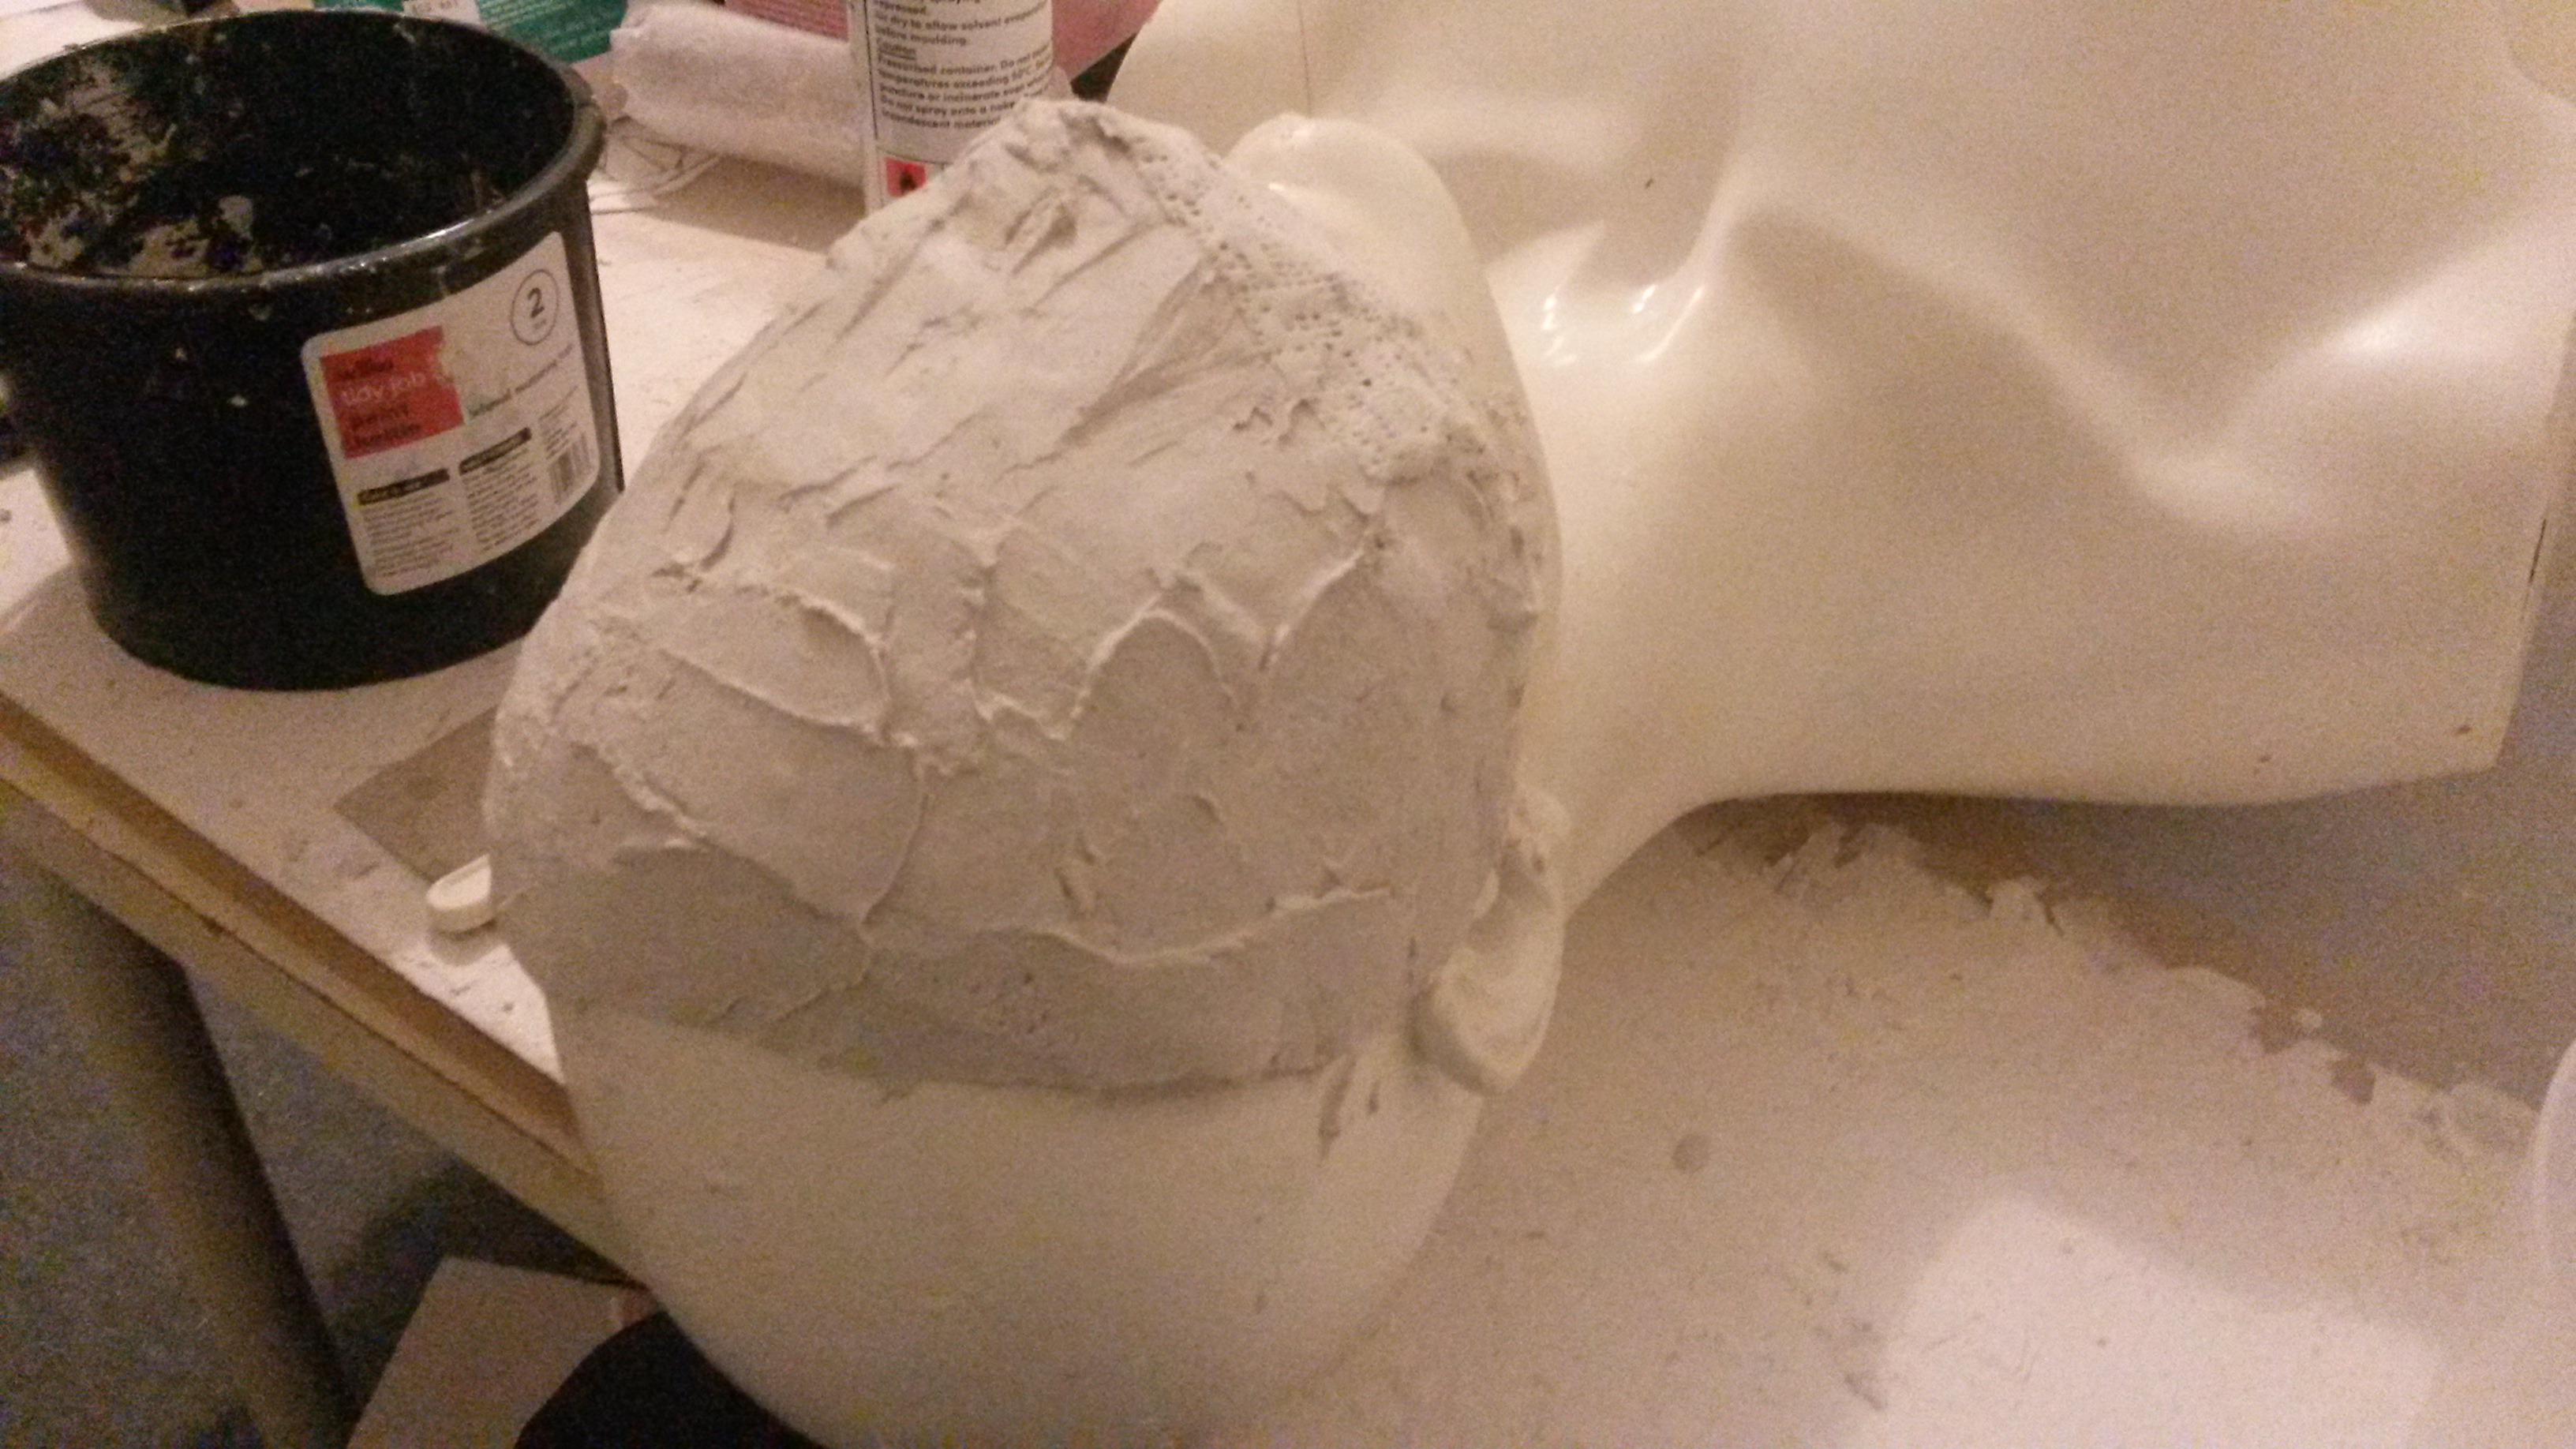
Here you can see the progress so far:

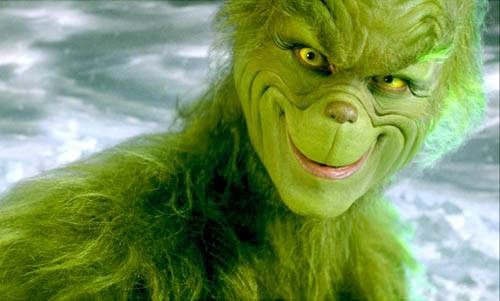
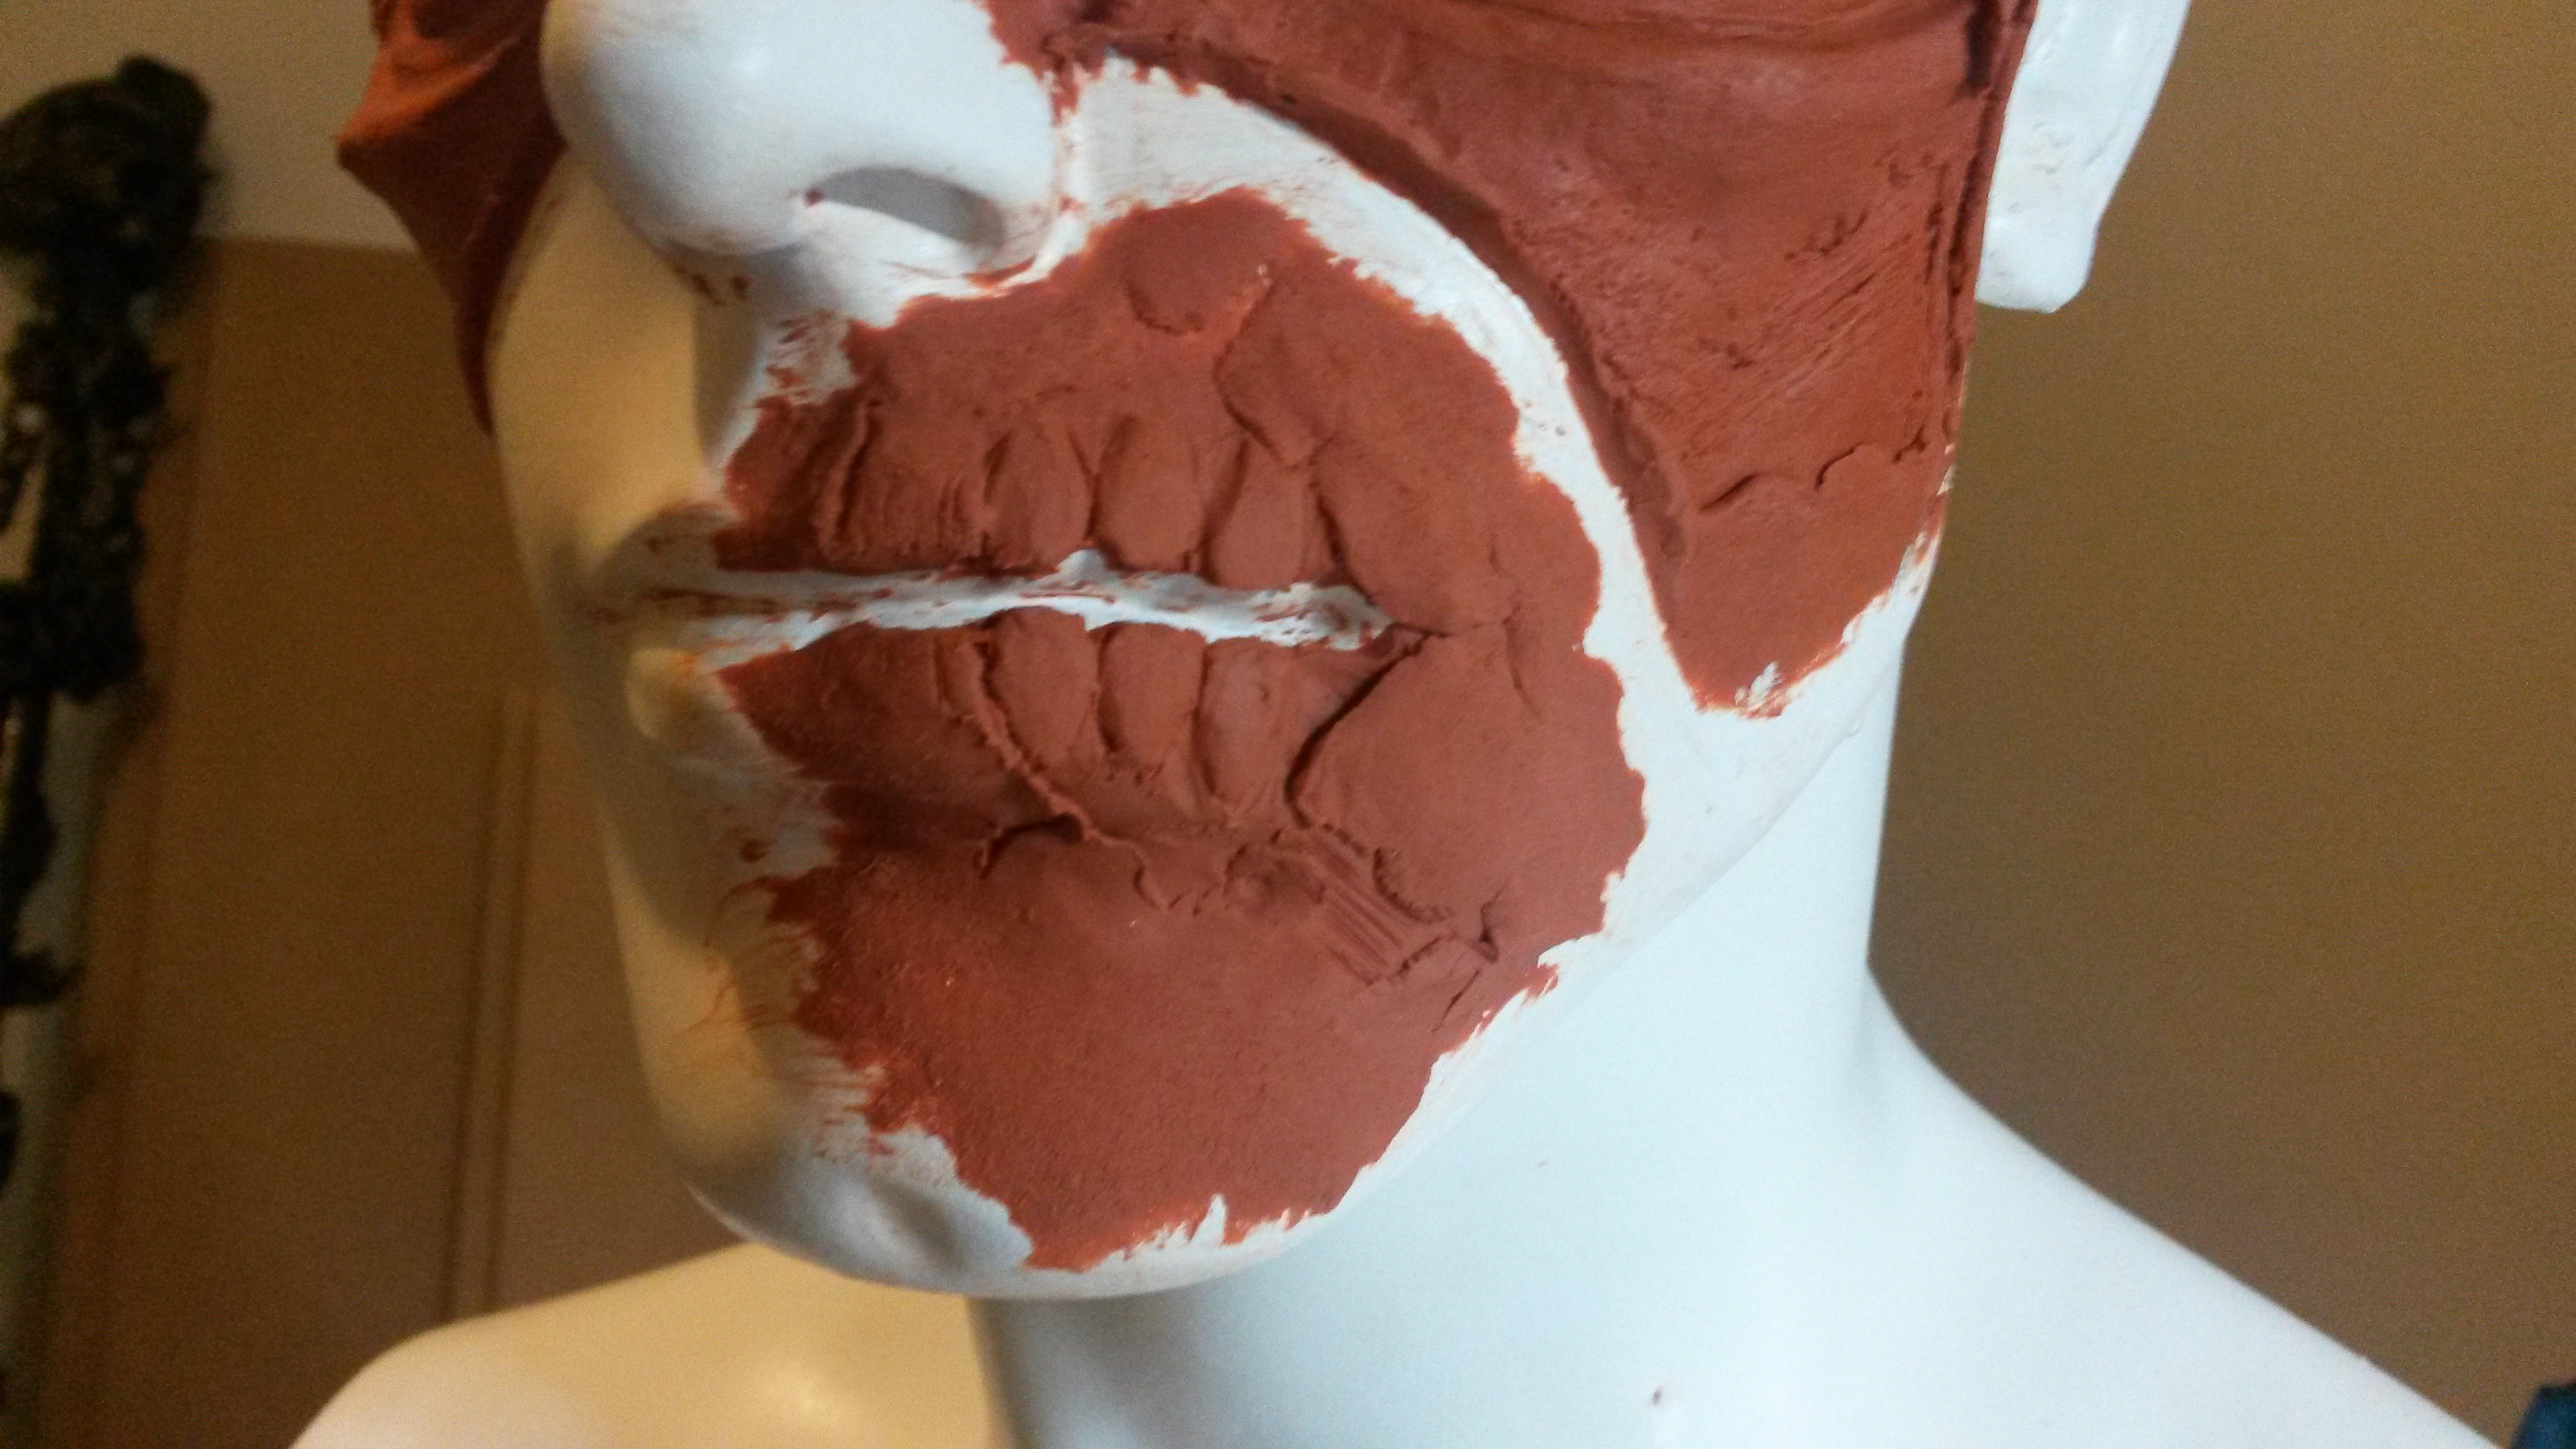
There not too much to say I managed to achieve what I wanted to do tonight which was getting the rest of the structure down - I need to watch some footage though before tomorrow as I'm still not happy that the nose is correct - I think I will need to push it in more so its more scrunched up to the face. (Unfortunately most picture on Google is Jim Carrey pulling his normal funny faces so its hard to tell, but gives me a reason to watch a Christmas movie a little early.)
I'm also considering pushing the eyebrows up a bit further but as they're hidden by the fur it shouldn't make too much difference.
Finally I need to work on the edges and lip ears to get it smoothed out and thinned out.


So the next big push will be finalising the structure then on to start the smoothing & detailing. Hopefully if I can nail this down tomorrow I can spend the weekend making the cast with more care this time round so there hopefully wont be air pockets.

Wednesday 19 November 2014

Christmas Project Pt1

So starting a few new projects today for the Christmas party. This is a 2 part project at the moment.
Part 1: A Grinch mask / Prosthetic
Part 2: A Krampus mask + outfit

So to start with I'm getting what I'm weighing up to be the easiest / quickest of the two: the Grinch mask. The process to start with is the same as the zombie prosthetic, for the first few evenings after work I'll start the blocking process on the face using clay, following on from that will be detail + texture then finally molding and casting.
The main idea is to get Grinch finished but the end of the week. Which should then give me the next week to work on the Krampus mask and a further week to get all the kit together for it.

So to start with I outlined on the mannequin head the lines biased on the Jim Carrey Grinch. You can enjoy this classy reference picture for the moment. 
I started to block out the shapes and folds with the clay just to get the basic shape, tomorrow night I'll start to bulk out the details and add  depth to it before the detailing can begin.
So here is the progress for now:
 
So as you can see its just the basic shape for the moment the nose / muzzle area needs to come out more at the sides and I need to start bulking out the cheeks and eyebrows also. I might have to get better pictures or re-watch the film again to see if I've made the nose too far out as I think its more squashed in that what I've made it but its a start.


Thursday 6 November 2014

Learning prosthetics Pt 2

So to continue where I left off, I finished up as much of the clay work that I could in the limited time I had. Moving on to the next steps: molding and casting.
I coated the clay face in a silicon release agent and let it dry while I mixed up a patch of plaster.
I managed to coat the entire front part of the face without too much issue - having a proper head cast would of been nicer as its a less bulky piece to work with the large mannequin kept rocking a lot and was just really awkward to get the plaster to sit without slipping down the sides everywhere.


So as you can see here is the plaster cast in process - learned afterwards that either i didn't apply my plaster correctly or mix it very thoroughly as there was a lot of random pockets in the cast where the mold had not worked correctly.
Once set I pulled it off - there was some issues around the edges where either the release agent wasn't present or where the plaster was thin but after some back and forth wriggling it came off. I cleaned the clay off as best as I could and went straight into my first cast.
So never having done this before I had way too much fun microwaving the gelatin mix and playing around with it - its such a fascinating material to work with. As you can see below I managed to pour the gelatin in and slush it around the mold to fill in all the gaps.


So several issues already which i will change for the next cast - when i was making the plaster mold i covered too much of the face - the entire nose was not needed so where it is now a lot of the gelatin mixture got into that cavity meaning i couldn't get a thin edge along the nose. additionally the eyes were a massive pain but that's easily solved just but cutting the gelatin but will try to work on something to just deal with this as it will not be included in facial masks.


So as you can see here this is a problem with the first cast - not knowing how gelatin sets I wasn't sure how much to pour as you can see the edges are way to thick. The idea being that I would feather and tapper all the edges off so they can be blended / melted into the skin / skin tone seamlessly.
I melted some more and re-did the cast again attempting to get a thinner effect.


As you can see here its a lot thinner but i went to the other extreme of too thin - it was so difficult to hand and move without tearing. ideals i need a thin edge and a slightly denser middle along the brow where most of the features are held.
running low on time i decided to stick with the thicker one for now so i remelted the thin cast - the brilliant thing about gelatin is that if you mess up you can just re-melt it down and start again.


So after plaster casting the face I moved onto making a very quick lower jaw just for some more horror - as you can see here the idea being the mouth torn with teeth visible. - this was quickly molded and i proceeded to cast it in the same fashion as before. So here you can see the final cast - yes its on my leg because lighting was being an issue.


As you can see where I mentioned before about plaster issues you can see the little air holes or missed areas especially on the jaw piece. ultimately i might look into a different molding material instead of plaster - be it resin or some sort of algenate material I'll just have to experiment.
So all in all I applied the piece to my face - its a weird experience having your eyebrows stuck down. there was difficultly due to the thickness in sticking it to my face especially around the eyes stuck my eyelid at one point - I should point out this glue is strong equivalent to a medical glue.
I proceeded to painting, adding blood effects and greasing my hair up for the finished effect. I didn't have time to add the jaw piece in the end however. So you can see the edges of the mask and round the eyes but next time they'll be invisible almost and blended in when I make version 2!


Next project is for the Christmas party hopefully: Grinch Prosthetic and possibly one for Krampus - this might be a mask instead.


To summarize:   
  • Investigate better mold materials / techniques to avoid air pockets
  • Make better molds so the casts are nice and thin at the edges
  • FX Glue is a pain to get off
  • Possibly pre paint parts if using for self as 99% alcohol is terrible to inhale