So it’s been really busy the past few months and I haven’t
had time to update this with everything so here’s the round up to sum
everything up to date. But between studying for A+, and a mixture of 5
different projects it’s been very busy.
Grinch Mask
Last post I had finished the clay sculpt and was about to
cast it. Now once again I ran into several issues, 2 pretty much stand out:
1. Having the full size mannequin to work on it’s a hassle and makes it hard to get a good cast without it spilling everywhere – really need to get a head cast done / brought and a front face only cast for when I’m making things like this.
2. I just was running short of time – deadline was Christmas work party and I ended up rushing and making mistakes. Especially when trying to price apart the cast it tore apart a bit and so I had to make several patch ups
1. Having the full size mannequin to work on it’s a hassle and makes it hard to get a good cast without it spilling everywhere – really need to get a head cast done / brought and a front face only cast for when I’m making things like this.
2. I just was running short of time – deadline was Christmas work party and I ended up rushing and making mistakes. Especially when trying to price apart the cast it tore apart a bit and so I had to make several patch ups
Afterwards I casted it with the gelatine once again made a
mistake but it’s one to take not of via trial and error. I poured way too much
into the nose socket as I figured having it sit flush to the face would have
been better however with this particular mold it was just too heavy on the face
causing it to tear.
Next time I’ll have to poor less in and keep it light rather
than solid / fitted.
The final issue I came across was I didn’t tapper off the
edges of the mold to be thinner so it could blend in so like the zombie
prosthetic there’s a noticeable line across the face along the edge.


So onto application, once again I keep picking up on things
I should have done better but that’s how we learn and improve. The main thing I
realised that next time I should pre paint the mask – just ran out of time
prepping before the party so the paint didn’t get an even coverage / didn’t get
the exact colour tones need

Biggest issue as I mentioned above was just that the nose
was too heavy and caused a massive tear. But all in all it got a few laughs and
everyone seemed to enjoy it.
Wartable
So finally managed to get the next chunk of what I needed to
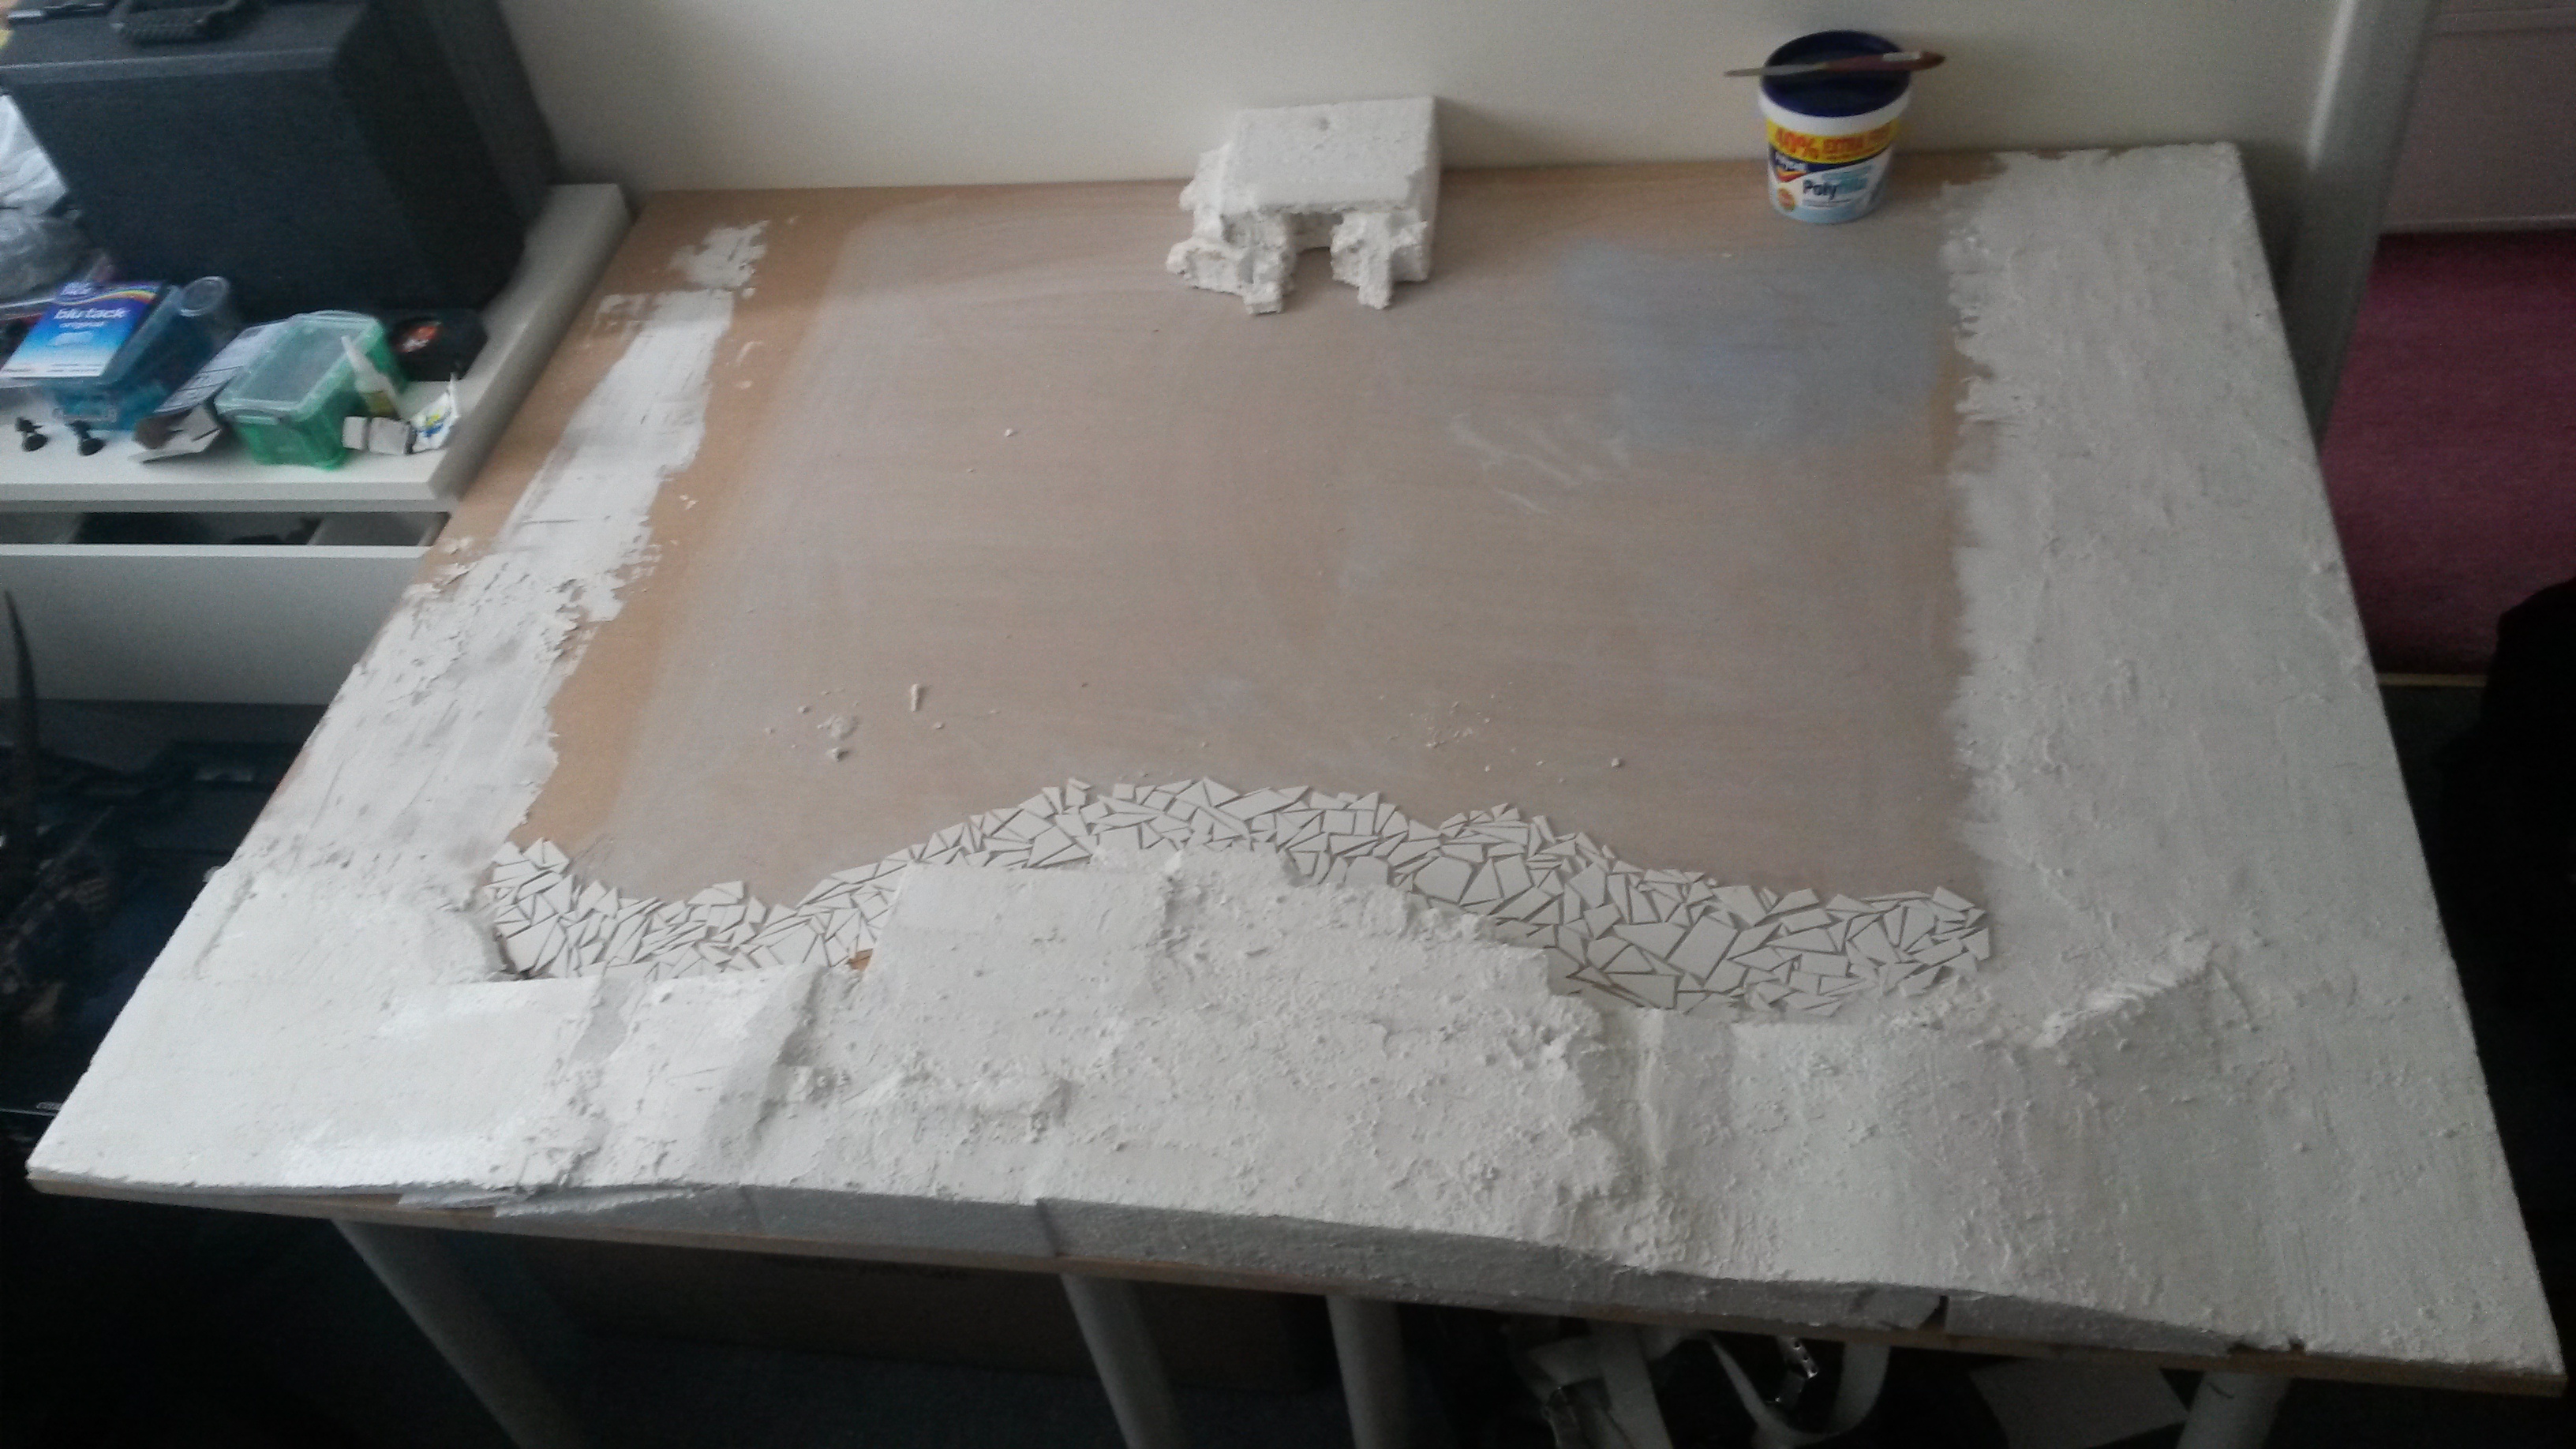
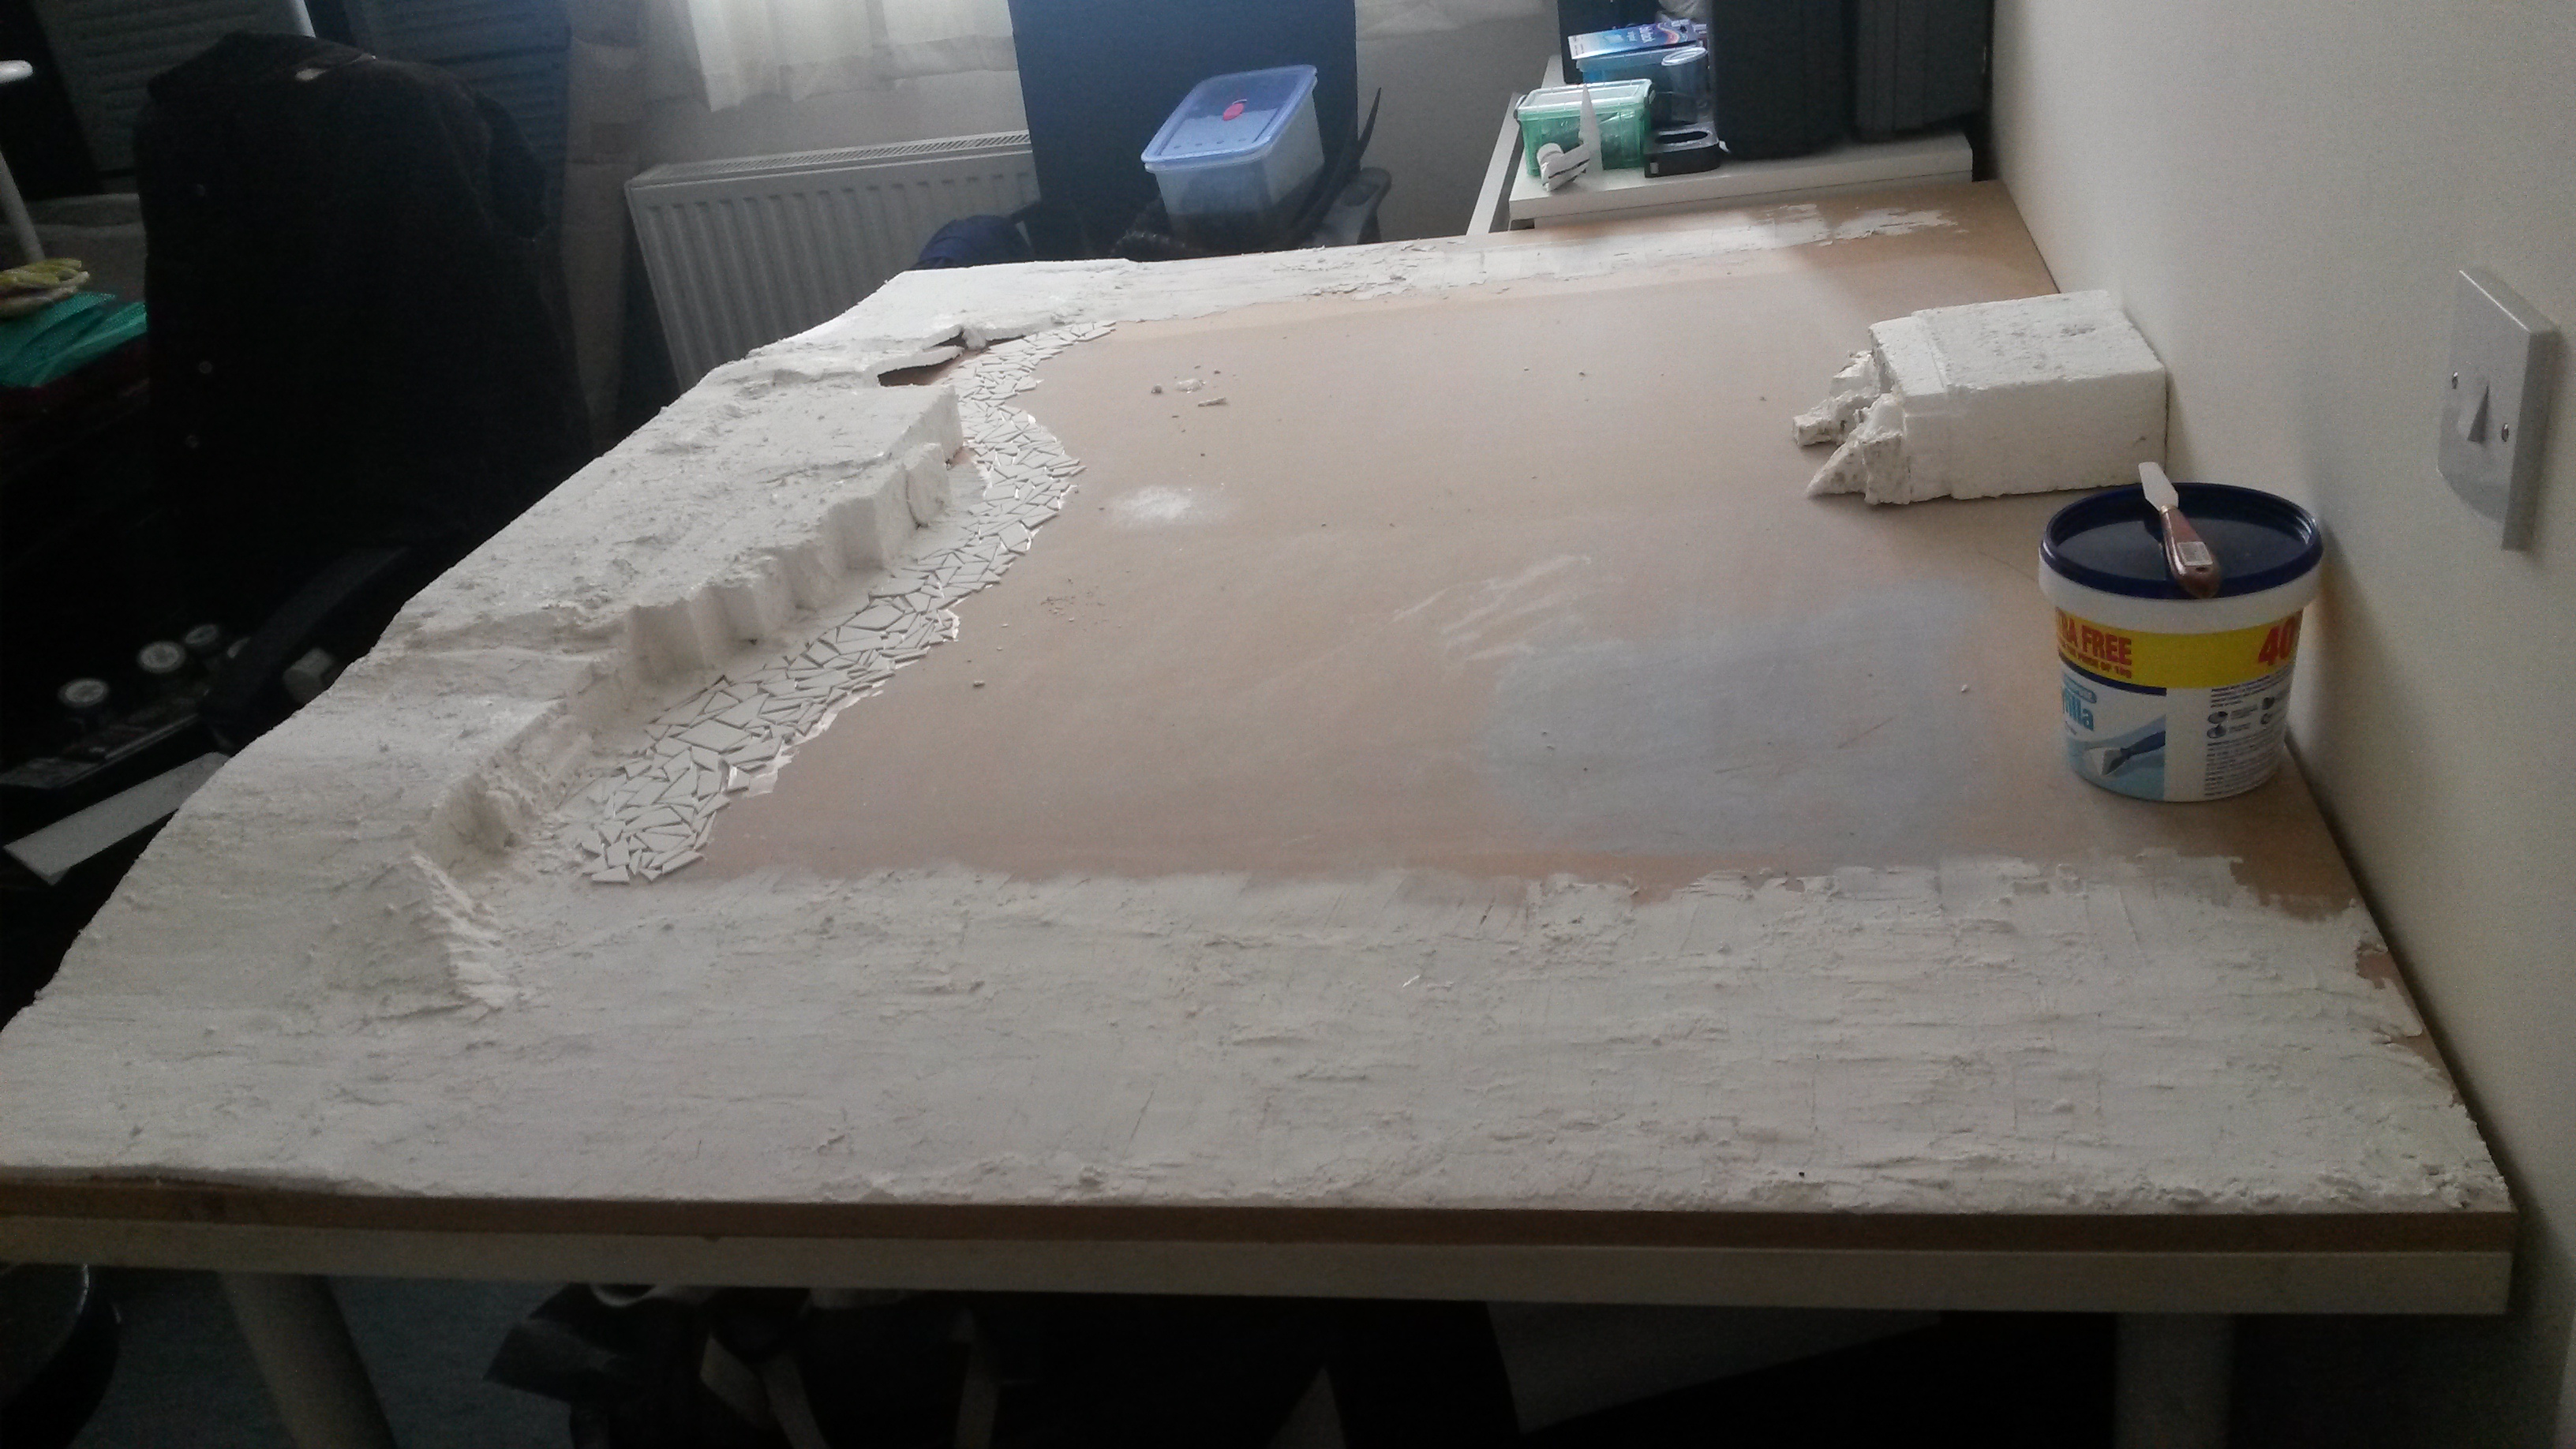
work on the table. From where I left off last I had just finished the ice
shards along the cliff wall so to speak. So to carry on I continued with the
poly filler filling in gaps and the board where snow would be all along the
edges and where the ramp / cliff is.
From this point I got a bit sick of polyfiller and also ran
out so I figured I’d start on the ice itself. After finding some cool
inspiration online used for Warhammer bases id figured I’d make it on a larger
scale so to start with using various sample pots I found a blue I liked as a
base and filled in the large portion in the middle that would be the ice as you
can see here the base coat was applied.

On top of this I then proceeded to add a blue / green micro
glitter on top – now it looks like a lot and a little tacky at this stage but
once it’s finished it will make sense. The glitter will give the ice a nice glimmer
once completed.


The next step would have been to layer all this in my water effect
resin however I wanted to cover some of the shards so I started giving some
areas a raised texture.


So once I’ve finished with this section it then gets worked
on in roughly this order:
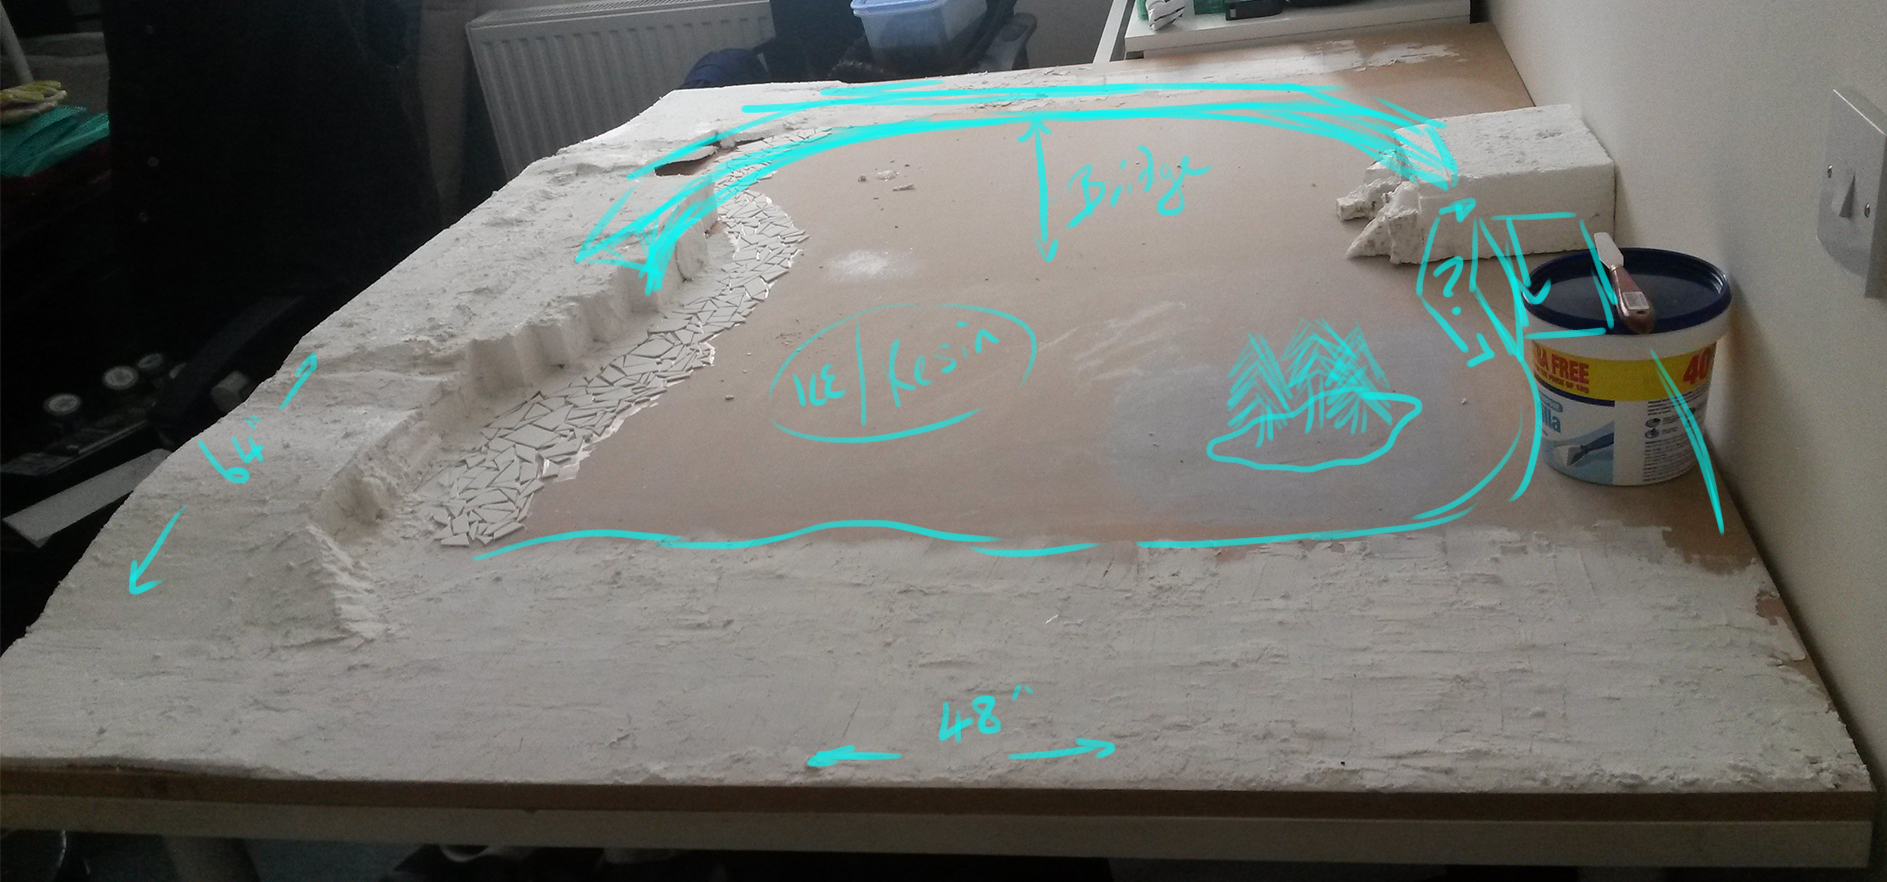
- Objects glued to the board where ice would be for stuff that got frozen over – this needs to be generic items so it can be used for both fantasy and futuristic games.
- The water resin will be layered on top of the glitter base coat. Either clear or tinted experiments needed
- Crackle paint will be used to break some of the ice – got to love crackle paint
- Various shading and dry brushing in white on top of that to create the ice
- Painting any details – i.e. cliffs
- Working on adding the snow layer to the board itself using faux snow / powder snow
- Once I get some woodland scenic water effect will create a frozen water fall on the right side of the board
- Once all that is done then it’s just onto making trees etc.
Other projects
So over Christmas I’ve been doing a lot of photoshop work to
help with various other projects which I will eventually post on here but for
now it’s a secret project. But you can have a look at this spacescape thats tied into it.

The purple leather I ordered for some larp claws arrived so I
will be working on that soon alongside the claws for my Skaven.
On top of this will be starting on some new larp kit because
you can never have enough – thankfully I have some help with sewing as I’m just
downright terrible.
To follow on with sewing still working on my friends Christmas
present (very late now I know however the sewing machine and I have issues
>.>)
Finally will be starting on writing up plot for D&D /
Shadowrun games which will involve some artwork on my part and making various scenery
that will be used alongside Warhammer – which I’m hoping to also tie in with
more 3D modelling. 3D printer at this stage would be amazing!
That’s the mega update done will try to keep this more
updated now the Christmas rush is over.